
Access & workspaces
Public self-service signup is not open yet. New customers join the waitlist and receive onboarding access from userGist. After activation, userGist uses magic-link sign-in—there is no password to manage. This page covers access, workspaces, and teammate invitations.
Get access
- 1
Join the waitlist
Open the userGist waitlist and enter your work email. This does not create a public dashboard account immediately.
- 2
Receive onboarding access
userGist confirms your access and sends the dashboard onboarding instructions.
- 3
Open the magic link
Once activated, request sign-in with your approved email. The one-tap link is valid for 15 minutes; open it on the same device to enter the dashboard.
- 4
Open your workspace
Your onboarded workspace is ready on first sign-in. Owners and admins can rename it under Workspace settings.
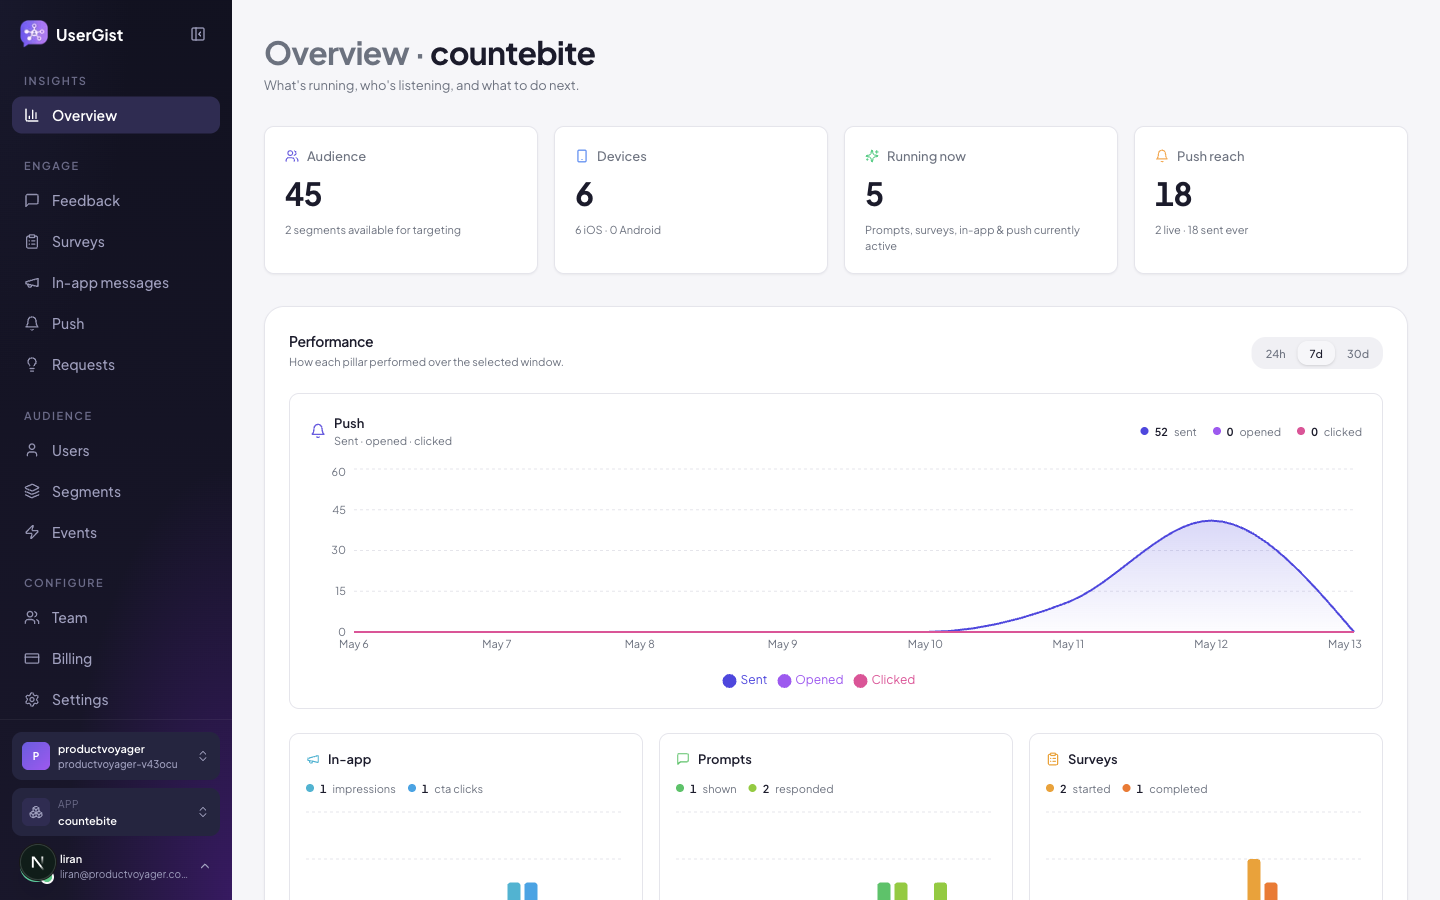
Return to sign in
Same flow, every time. The magic link is single-use, expires after 15 minutes, and is bound to the device that requested it.
If the link doesn't arrive within a minute, check spam. We send from [email protected]. If your company allow-lists outbound providers, ask IT to whitelist that domain.
Workspaces
A workspace is a collaborative container for a team, billing, and one or more apps. Your account can belong to multiple workspaces. Most companies use one; add another when you need strict data separation for a different legal entity, regulated environment, or isolated billing.
Workspace settings
Owners and admins can open Configure → Workspace settings to:
- Rename the workspace
- Set the default timezone used by newly created schedules
Changing the timezone does not alter existing campaigns; they retain their stored timing.
Invite teammates
userGist supports three roles:
| Role | Read | Edit features | Push creds & write keys | Billing & members |
|---|---|---|---|---|
| Viewer | ✓ | — | — | — |
| Editor | ✓ | ✓ | — | — |
| Admin | ✓ | ✓ | ✓ | ✓ |
- 1
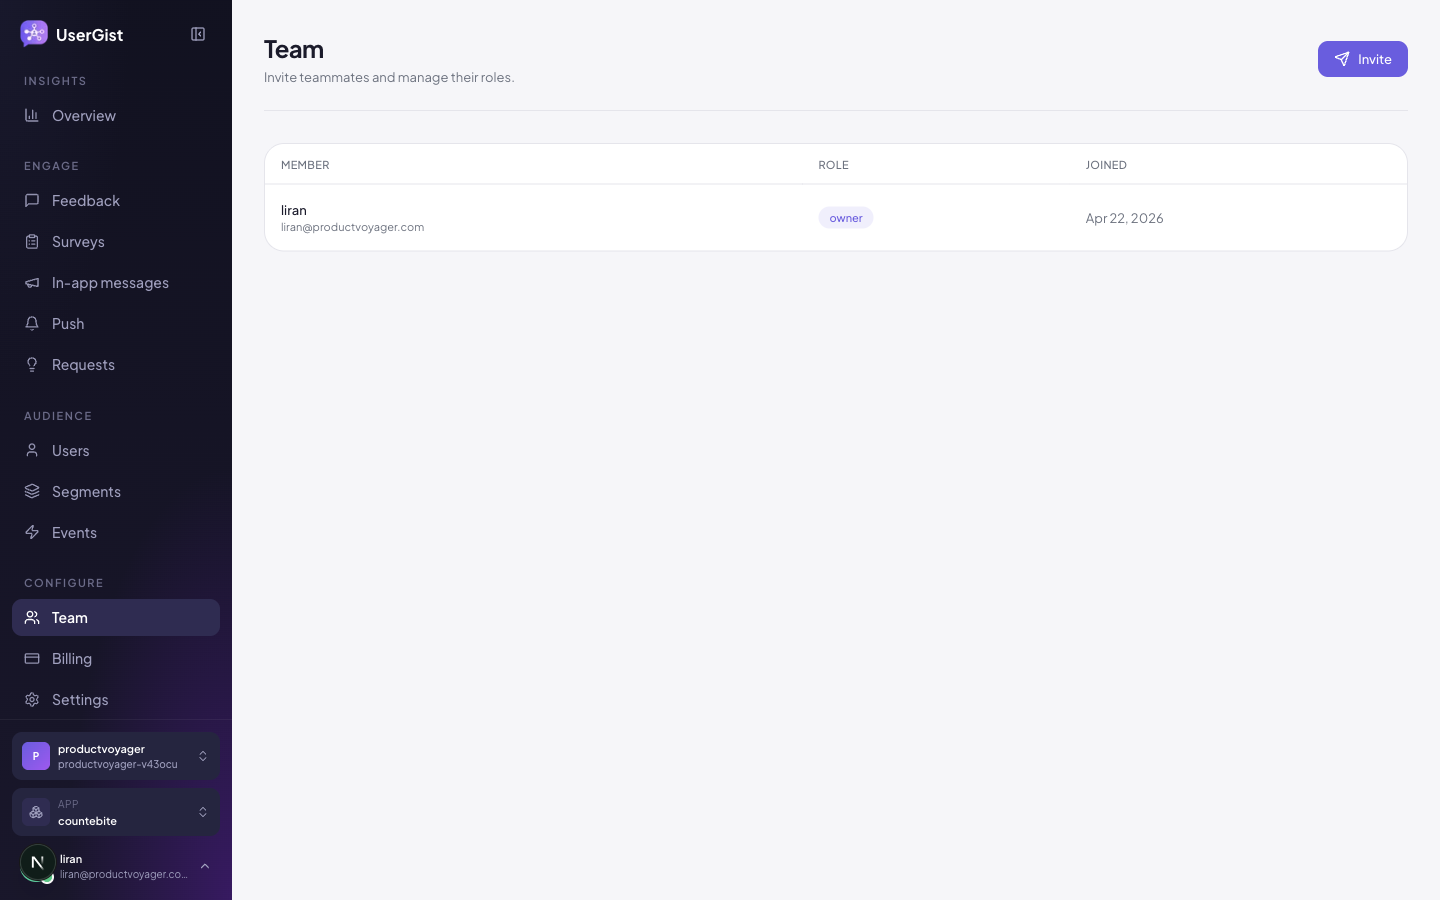
Open the Members page
Sidebar → Team → Members. You'll see everyone currently on the workspace.
- 2
Click “Invite member”
Enter their email and pick a role.
- 3
They get a magic-link invite
Invite emails expire after 7 days. Re-send from the Members page if needed.
See Admin → Team & roles for the full permissions matrix.
Switching workspaces
If you belong to multiple workspaces, the workspace switcher lives at the top of the sidebar. Switching reloads the dashboard with the new workspace context — your write keys, apps, and team change accordingly.