
Quickstart
Get a userGist event flowing from your app to the dashboard in five minutes. After that, every other feature — surveys, push, the public roadmap — is one method call away.
Create a workspace · create your first app · copy the write key · install the SDK · fire your first event · see it land in the dashboard.
Before you start
You need:
- A React Native 0.72+, iOS 14+, Android 24+, Flutter 3.19+ app, or a desktop/mobile website.
- 5 minutes.
- An activated userGist account. Public access is currently granted through the waitlist.
1. Create your workspace
Join the userGist waitlist with your work email. Public self-service signup is not open yet; when your access is activated, follow the onboarding email and sign in to the dashboard.
Your workspace is a collaborative container. It holds your team, billing, and one or more apps, and your account can belong to multiple workspaces. A workspace is created when your account is onboarded—owners and admins can rename it later under Workspace settings.
2. Create your first app
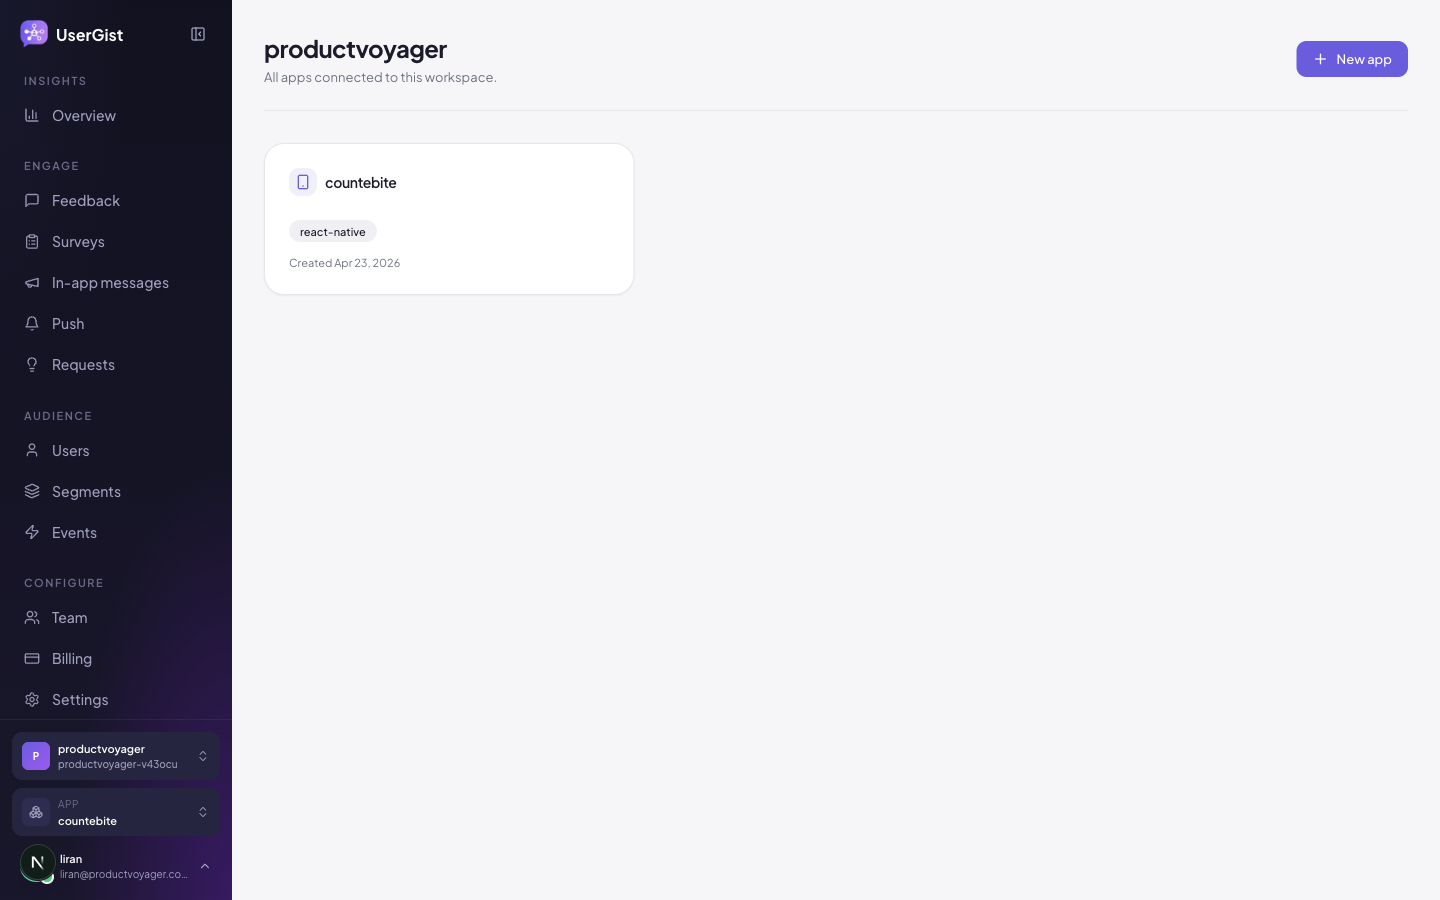
An app is where your users, events, and campaigns live. Most teams create
one app per product and environment—for example, Acme Production shared by
its iOS and Android builds, plus a separate Acme Staging app.
- 1
Click the “+ New app” button
From the dashboard sidebar, choose your workspace then click the + New app button at the top of the app switcher.
- 2
Name your app
Use a name your team will recognise—
Acme ProductionorAcme Staging. Add the platform to the name only when you intend to isolate it. You can rename it later. - 3
Select its platform or platforms
Choose React Native, native iOS, native Android, Flutter, Web, or every platform build that should share this audience and its campaigns. This controls the setup tabs you see; userGist does not auto-detect or inject an SDK.
- 4
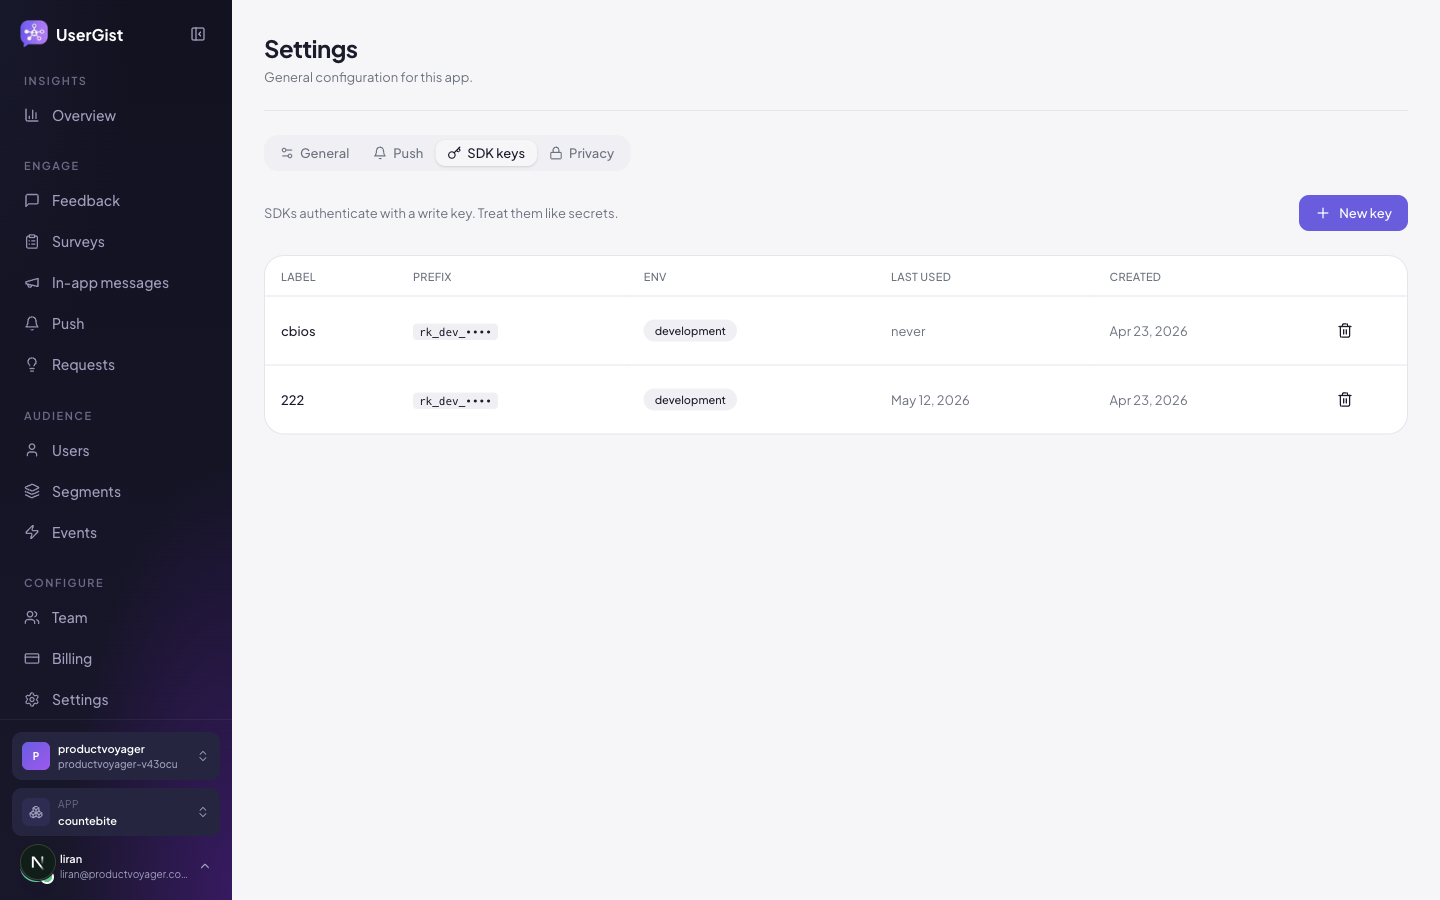
Copy the write key
userGist generates a write key (looks like
rk_live_xxx…). It's shown once in plaintext — copy it now or rotate later from App settings → SDK keys.
Write keys select your app and environment, but are expected to be extractable from a shipped binary. They cannot prove a user's identity or access dashboard data. Use a backend-only server key to mint server-minted subject tokens for identified users.
3. Install the SDK
Choose the package for your app or website. Native SDKs and the Web SDK support anonymous and identified users, with SDK-owned feedback surfaces; web participation requires explicit activation.
| If your app is built with | The package comes from | Package |
|---|---|---|
| React Native | npm | @usergist/feedback-react-native |
| Expo (prerelease) | npm next channel | @usergist/feedback-react-native@next |
| Native iOS / Swift | Swift Package Manager | UserGistFeedback |
| Native Android / Kotlin | Maven Central | com.usergist:feedback |
| Flutter | pub.dev | usergist_feedback |
| Web | npm / pnpm / Yarn | @usergist/feedback-web |
Install @usergist/feedback-web and follow the Web setup walkthrough. It covers allowed origins, server-minted subject tokens, explicit activation, consent, and your first tracked event. The code tabs below cover native SDKs; web has no push setup.
# React Native
pnpm add @usergist/feedback-react-native@latest @react-native-async-storage/async-storage react-native-safe-area-context
cd ios && pod install
The package manager chooses the implementation. Once installed, every SDK speaks the same userGist protocol and includes its platform and version in the request context. Your write key routes those requests to the correct userGist app and environment.
You'll notice our packages are published under the @usergist / usergist_feedback namespaces. That's our parent brand and is how the registries resolve installs. The product itself is userGist — same SDKs, same docs, same dashboard.
4. Initialise the SDK
Drop this once at app launch, before any other userGist call. Replace rk_live_… with the write key you copied in step 2.
// App.tsx
import { UserGist } from '@usergist/feedback-react-native'

UserGist.init({
  writeKey: 'rk_live_REPLACE_ME',
  environment: 'production',
  debug: __DEV__,
  presentationPaused: true,
})
Allow campaign UI after loading
Initialize with presentation paused on every platform. Analytics can start at
launch while feedback, surveys, and in-app messages wait for your app. Resume
from your existing callback after the loaded screen is visible and navigation
has finished. In React Native and Flutter, mount UserGistProvider first.
Anonymous users use the same readiness callback; sign-in is not required.
- React Native:
UserGist.resumePresentation() - Android:
UserGist.resumePresentation() - Flutter:
UserGist.resumePresentation(); - Web:
usergist.resumePresentation()on the initialized client.
For iOS:
In your existing ready-content UIViewController, resume after startup loading
and navigation finish. This code belongs in that controller, not AppDelegate
or the splash screen:
override func viewDidAppear(_ animated: Bool) {
  super.viewDidAppear(animated)
  UserGist.shared.resumePresentation()
}
For SwiftUI, resume in .onAppear on the loaded-content view that replaces the
loading branch. Analytics and $app_open continue while campaign UI is paused.
See the iOS readiness guide
for later navigation flows and troubleshooting.
5. Identify your user and fire your first event
identify ties an anonymous device to a stable user ID only after your authenticated backend mints a scoped subject token. track records a behavioural event and batches it durably.
You do not need to identify someone before collecting consented anonymous
activity. The SDK creates and stores an anonymous ID on first launch. Call
identify only after your own authentication succeeds, and call reset on
logout so the next person on the device starts with a fresh anonymous identity.
const { subjectToken } = await yourBackend.getUserGistSubjectToken()
UserGist.identify('user_42', {
  plan: 'pro',
  signedUpAt: '2026-01-12T00:00:00Z',
}, subjectToken)

UserGist.track('checkout_completed', {
  orderId: 'ord_991',
  amountUsd: 49,
})
6. Watch it land
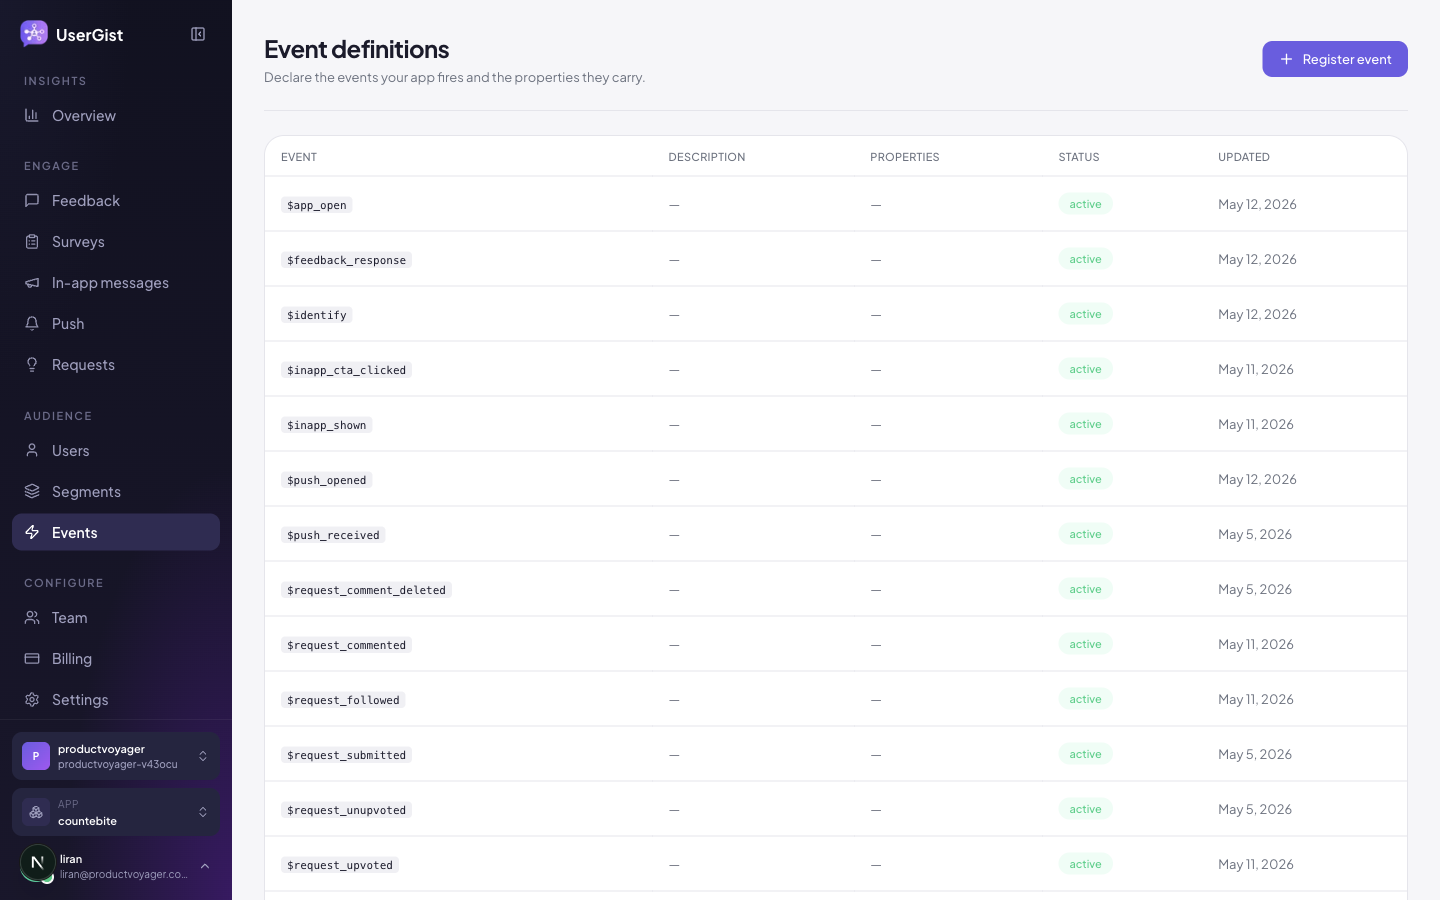
Open the dashboard → Users to find your identified user, or → Events to see checkout_completed arrive in the live feed (usually within 1–3 seconds).
7. Try your welcome message
Guided onboarding prepares a welcome modal using your app’s design, with a Got it button. Choose Try this message to activate it as-is. The optional Customize section lets you change the title, message, button text, or switch to a slide-up. You do not need to choose a feature, audience, or trigger first.
The example is active for everyone, with one impression per user on their next
app open. Fully close and reopen your app. On every platform, initialize with presentation paused, let the main screen
finish loading, and call resumePresentation() after startup navigation completes. In-app messages use feedback consent.
Onboarding confirms three steps: Message created, Message shown, and Got it clicked. Tap the message button in your app; once the SDK reports the click, onboarding automatically continues and pauses the example. If you close the message first, choose Try message again. Both anonymous and identified users can complete this flow. Existing onboarding sessions that already created a feedback question can finish that question instead.
For later campaigns, choose a moment that fits the message, such as an explicitly
tracked lesson_completed event. App open is a useful first connection check;
your app signals when startup is ready for campaign UI.
That's it — the SDK is wired. From here you can build a survey, launch a push campaign, or open the feature-request board with a single method call.
userGist's APNs and FCM paths are validated on real devices. To send from your own app, upload credentials from your Apple Developer and Firebase projects, wire that app's permission/token callbacks, and send a test to your running app and confirm it arrives. Provider credentials and device tokens are unique to each customer app.
What to do next
- Run an NPS survey in 3 minutes → Guides → Run an NPS survey
- Set up push (APNs + FCM) → Guides → Send your first push
- Understand segments → Features → Segments
- Read the model → Core concepts